Repair of an RCA Radiola 26
© 2009, Richard Fairbanks
|
|
|
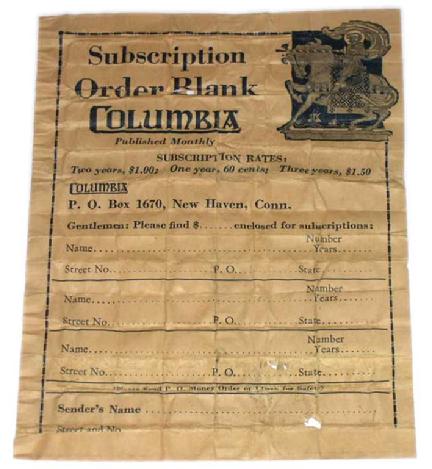
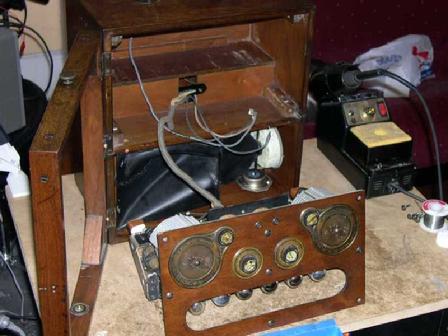
What does an order form have to do with my radio’s restoration? As I contemplate this project's conclusion I am bothered by the black metal speaker that is still attached inside the Radiola’s cabinet. It rattles within its mounts with the slightest shake or touch. That can't be right, can it? It needs fixing!
A pair of wood screws hold a mounting bracket with two speaker mounts. The bracket and speaker come out easily. A third mount remains. When I remove it, hard little chunks fall out of it!
The pieces have been wedged inside by a folded piece of paper that proclaims 60 cents is all I need for a twelve month subscription to the Knights of Columbus newsletter magazine! “Mint condition”, I grumble. "Inflation!"
|
Naval jelly and a coat of lacquer will stop the rust.
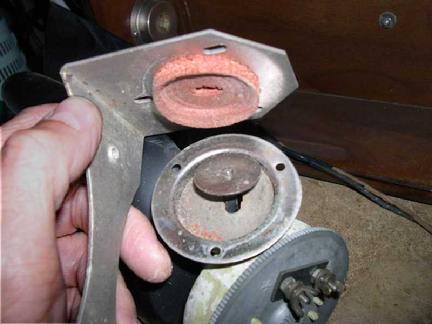
Each mount holds two pads inside a metal cup, one red and the other a dull grey-green. I do not know why they are different colors. The grey ones have a hole it their centers, though which a metal rod passes. Screwed to the end of the rod is a metal disc. When the rubber was still flexible and springy the pads held that disc and absorbed mechanical vibrations. The speaker was probably held securely. Now, the pads have shrunk and are brittle and useless.
|
|
|
|
 |
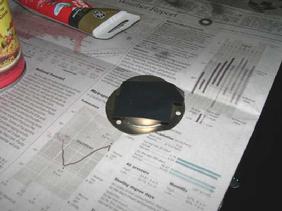
| Foam pads are now brittle |
|
|
 |
| Just gather a few items... |
|
|
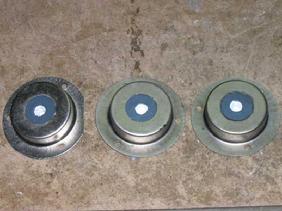
I can make springy new mounts out of white bathroom caulk, the same silicon rubber I squirted into raisin boxes earlier. By filling a mount’s metal cup, the caulk will shrink slightly while curing and end up just the right size.
|
 |
| Tape over any holes... |
|
|
 |
| Spray... |
|
|
 |
| Squirt... viola! Welcome to my pad baby! |
|
|
 |
| A few touch ups... |
|
|
 |
| and they are ready to go. |
|
|
My new pads feel very springy but are not smooth. The caulk cured with a somewhat lumpy surface. Discs of thick fish paper will give them a nice appearance.
next-->
|
 |
| Speaker, bracket, and mounts are reunited |
|
|
 |
| The speaker is mounted into position |
|
|
|
|